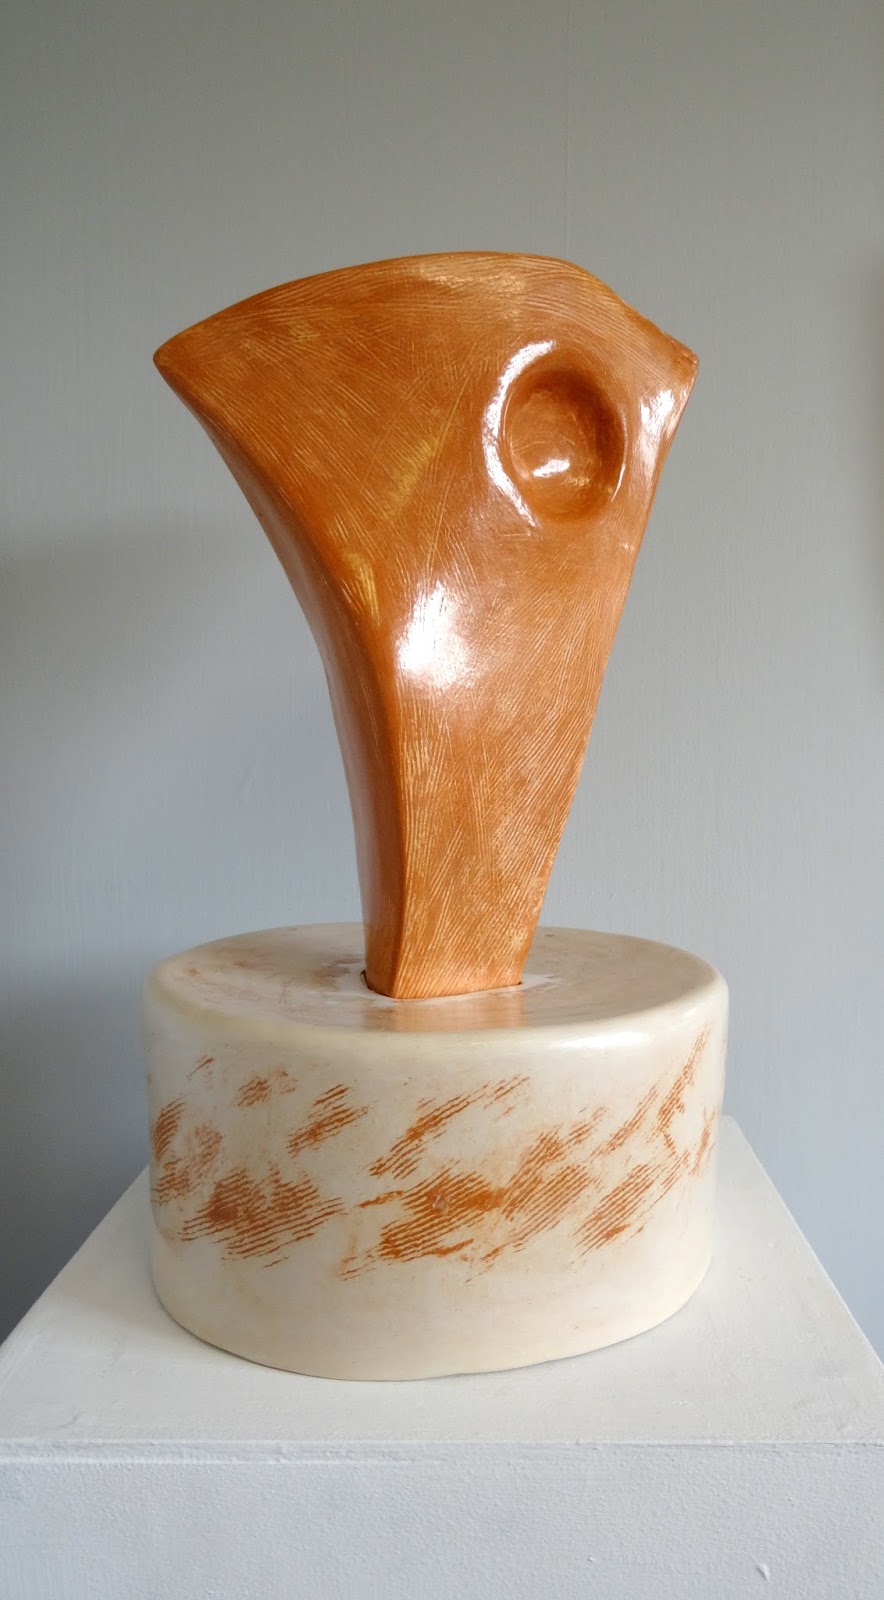
In my last post about the drum I mentioned that I had been inspired by making ceramic work that could have additional interest added to it through sound, as well as combining and constructing together different mediums, along side clay work.
In August last year me and a friend rented a car and took a road trip back to my home land of Scotland. During the week long trip we managed to cram in many places, but my personal highlight was re-visiting a place very special to my heart: The Isle of Mull. As a young child my family used to visit there and, being back there brought back a lot of good memories for me.
One thing I miss immensely from back home is being by the coast. Upon visiting Mull we took a day trip to the island of Staffa, made up of hexagonal columns of volcanic rock. When we got there we had some time to explore the uninhabited island. We visited one if the island's Sea Caves, named Fingal's Cave, after the giant, and found a little beach. From the beach I collected some rope, drift wood and bones found from a dead seal.
Approaching Staffa
Fingal's Cave
On returning to Cambridge, a few months later, my brother got in touch to let me know he was planning on getting married at the end of the year. From the pieces I collected from the place we used to holiday together as children, I knew what I could make for a meaningful wedding present to give to them on the big day.
The piece really satisfied my need to combine materials using terracotta, crank, B17C and porcelain clay bodies, along with melted glass, wood and bone, the found objects giving the bell a further sentimental value. The work is meant to have a spiritual, primitive feel about it. I used the circle throughout to symbolize the eternal commitment and unison of marriage. The string that links the bottom section has been carefully considered so that the link in it is not visible from the front of the piece, so it appears to be an infinite loop, joining different the various elements together as it passes through them. The various elements may be different shapes, but fit together to support one another, as I believe, a good partnership should.
Terracotta, B17C and porcelain clay bodies with melted glass
Terracotta and crank clay bodies with melted glass, wood and bone
Bone, wood and slab build, low-fire burnished pendant
In September two of my very good friends tied the knot and got married. Lizzie has always said she would like a piece of my art work and Dave is amazing at anything percussion related, so for their wedding present I made them a drum!
I was inspired by a book I had seen called "From Mud to Music". I found creating an instrument from clay gave the piece a a new sort of life about it: It could make a sound. I had to learn how to stretch the skin over the top, which was by far the most challenging bit as I had never done anything like that before. I watched YouTube tutorial but none were telling me exactly what I needed to know, so I combined all of my learning and took a leap of faith and, fortunately, it worked out!
I had taken pictures through the making process of the drum and printed the photos and put them in an album that accompanied the drum as part of the gift. Around the middle I carved their names and the date of the wedding and melted glass in the channel I built around the bottom.
I have been dying to post these photos for a while now and here they finally are! At Christmas time, a friend gave me a tiny little jar of chutney in a preserving jar. I have always loved the lid contraptions on these, so decided to dismantle it to try to work out how I could combine it with my own work. After doing some research and gathering some ideas and influences I had a clear idea in my head of the piece I wanted to make, and here it is!
I'm really enjoying the concept of mixing different materials together and intend to show this more in my current work. As the ceramic has to be fired to over 1000°C this is too hot for the other elements to survive. Also the clay body shrinks by about 10% through the firing process so when it came to constructing all the bits together I had my fingers and toes crossed that they would all fit together, so, when they did I was thrilled! I wasn't sure if the ball was going to be able to move, but it can spin around on its axes, which also really pleases me! The bottle is probably my favorite ceramic piece I have made to date.
It wasn't until weeks in to its creation when I was locking my bike up that I glanced down at my keys and noticed the keyring on them was very similar to what I had been making! Something clicked... I had been carrying this around with me the whole time... could this mini bottle have been subliminaly in my mind the whole time?!
Earlier this year I joined Anglian Potters. This was recommended to me by a fellow ceramicist and was well worth it! The site includes local clay dumps, events and workshops, and holds a huge network of potters situated in the surrounding area.
They have an exhibition every year at Emmanuel College, including the work of 65 different potters. I will be exhibiting some of my work with them from 15-30th August so please do come along if you're in the area and have the chance.
After a visit to the Sainsbury Centre in Norwich I was inspired by the vast range of ceramic work they had in their collection. I was particularly attracted to the piece, Mediterranean Sculpture (Orphic Dream), by Jean Arp, 1941.
This image was the best I could find online, as I only took a couple of sketches at the time, rather than a photo, but the piece that I saw was made from terracotta clay and was burnished to such a high standard that it could have passed for pink marble. I really like the idea of a piece being a completely different material than first perceived.
I was also intrigued by how the various artists on display in the centre, including Hans Coper, utilized the plinth and incorporated it in to their piece. The elevation seemed to give the form a greater sense of being. It seemed to make the piece more valuable with a greater sense of power.
A lot of my 2D work uses flat, brightly coloured, graphic, blocky shapes. The sculptures I was looking at appeared to do just this, but in 3D. These were all points I wanted to investigate and explore.
This is what I made.
As the piece gradually took shape I used a serrated steel kidney to initially smooth and join the clay. I noticed that the marks left by the kidney were very gestural and could illustrate some of the making process to the viewer, so I decided to fill them with white slip so they would remain visible and become a feature of the sculpture. The base was made from grey clay with red slip in-laid in to the surface, vice versa of its passenger.
I would love to some how map my fingerprints on this piece, as it has had a hell of a lot surface contact with them to achieve this high shine!
Here are some snaps of a vase I made recently. I used the traditional techniques of coiling to make this, along with slip in-lay for the decoration on the outside and mixture of oxides on the inside.
The rim of the pot has been trimmed to an organic shape, as the piece is intended for decorational use. During the Ceramics lessons that I teach, I try to draw my students' attention to the rim of their pot, as this informs the viewer of what to expect from the piece. If the rim is irregular, this could indicate that the pot is decorative, where as if the piece was made for drinking from the rim would be smooth and constant, as the user would be expected to put this to their lips. It can also give an indication of the weight of the piece.
As always, comments and suggestions are greatly appreciated! Let me know what you think!
We just finished setting up for the opening of my first ever solo show: BALANCE.
In this exhibition I have mixed geometric shapes with bright colours to bring my playful and experimental approach to the viewer, in an attempt to rejuvenate traditional methods and techniques, showcasing a range of intaglio and relief printmaking processes, alongside a handcrafted collection of ceramic work.
Inspired by the transition of art escaping and challenging the standard constraints of the frame and the conventional gallery space, The Makers' Gallery, Cambridge, offers the ideal setting to provoke this conversation, developing from within the artwork and the exhibition area.
Details
The Private View will be on Friday 17th April, 7-9pm, so please do drop in if you can!
I've started working more and more with ceramics due to what's been readily available to me.
My most recent creation is the jug that I will show in this post. My aim was to combine a range of techniques to make a functional item. I wanted to keep the strong graphic approach I show with in my prints, using bold colours and shapes.
When building the jug I used pinch pot, coil and slab building techniques. I decided to make simple surface decoration by in-laying coloured slip. When the jug was at the leather-hard stage of drying, I sketched on my design, and used a lino cutting tool to incise the design in to the surface. I then filled these lines with the coloured slip and when that was dry I scraped it back, so it was flush with the surface level.
I wanted to highlight the features in the form of the jug through the slip in-lay design, as well and try to keep and show a balance with in the piece.
This post is moving slightly away from Printmaking, but I wanted to include this update on the arty happenings of the summer!
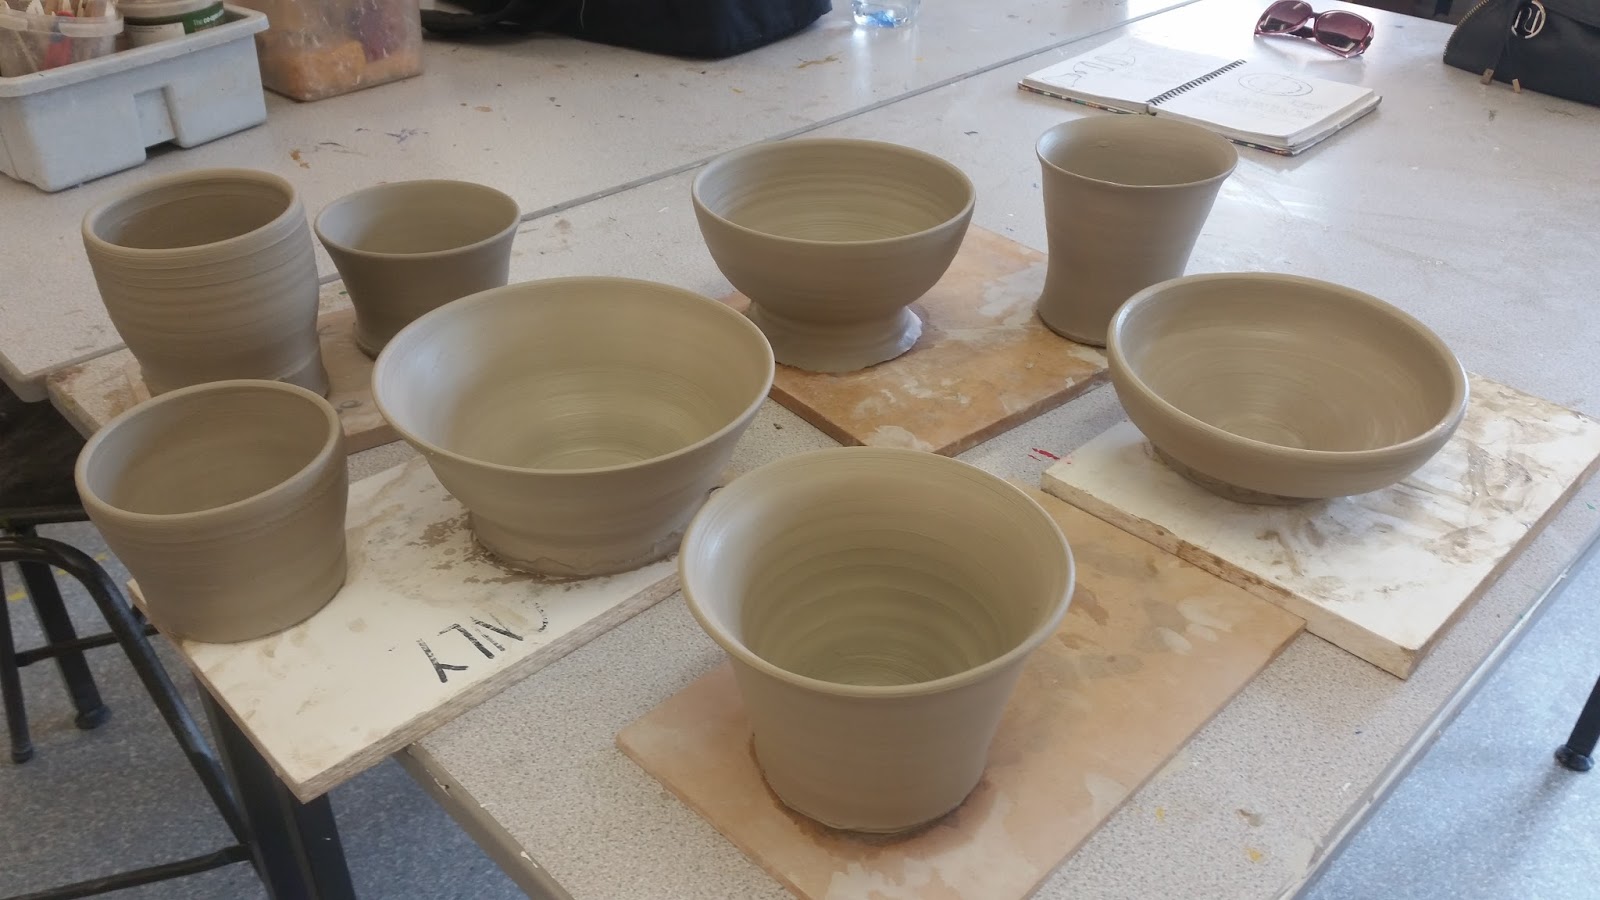
This July I was given the opportunity to teach the Ceramics Summer School at Hills Road Sixth Form College. I showed a group of 5 adults a range of techniques and how to use them over the five days. We studied pinch pots, coils, slab building, throwing, slip decoration, press moulds, air traps, glazing techniques, the use of oxides, burnishing and the possibilities of combining glass with ceramic work, to name but a few!
I really enjoyed working with the small group, as it meant each student got lots of attention and encouragement, which made it possible for them to achieve some really great outcomes. They were also really open and responsive to experimentation, and using it to inform their progress over the course. Each person paid attention to the various tutorials they were shown, but it was interesting to watch how they all took my advice in completely different directions.
The 5 day course was split over 2 weeks, with the weekend in between, as I made use of this time to bisque fire the work. Wednesday, Thursday and Friday in Week 1 were days allocated for making. We were very lucky with the hot sun outside, which helped to dry the work, ready for it's first firing.
When the students returned on Monday I taught them various glazing techniques, which they were then free to get started with, and continue the following day.
Here are some pictures and videos taken throughout the course (courtesy of Emma Wilshaw).
Slab built sculpture inspired by the work of Richard Deacon, made from a paper tenplate.
A wind-chime made from pinch pots to be strung together to make a jointed fish after glazing
Alex working on a slub built sculpture
A birdbath made from a press mould, drying out in the sun
Helping Alex construct her piece
Pouring glaze and dry-brushing oxides on the bottom of the birdbath to the left
Glass feature in the bowl of the birdbath after it's final firing
A little cat bowl by Carys
Pam's collection of owls making use of low temperature, brush-on glazes
A bowl made in a press mould by Carys making use of glaze and glass as form of decoration